

Silicone Prosthetic : Decapitated Neck Slice | SFX Makeup | Halloween
From £36.00Sale Price
0/500
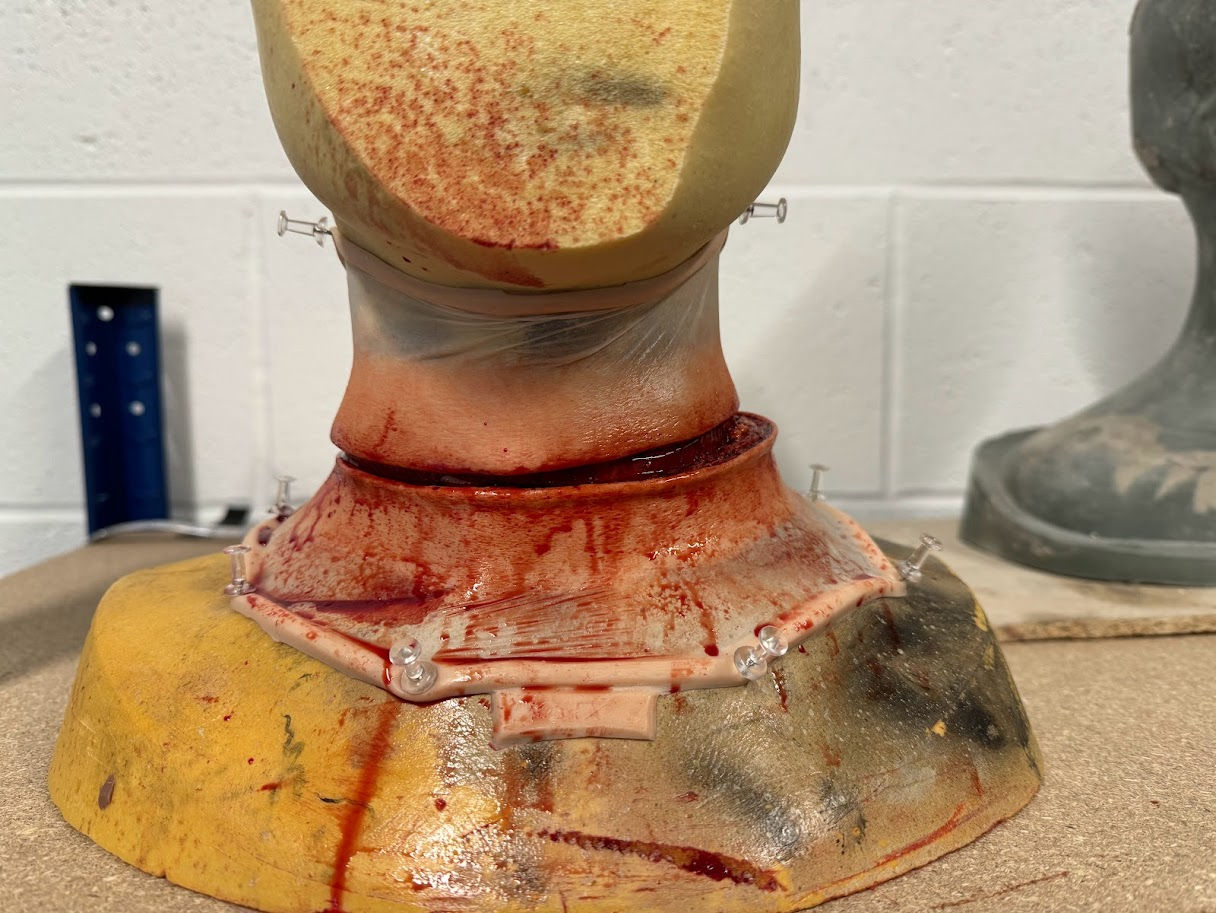
Kiera oke FX presents the Silicone Prosthetic: Decapitated Neck Slice, expertly designed to look like the head has been decapitated and stuck back on top. This prosthetic features great detail and texture with realistic fatty tissue, making it ideal for film and TV productions as well as Halloween events. As a best seller, it has been trusted and used for multiple film productions, reflecting Kiera’s commitment to high-quality special effects makeup. Perfect for artists and creators seeking professional-grade realism, this piece embodies the skill and creativity Kiera brings to every project. Elevate your character work with this standout prosthetic from a UK-based Special Effects and Character Makeup Artist.